

Japan Travel Packing List: Ultimate Minimalist Gear Guide

Planning a trip to Japan is an incredibly exciting venture, but deciding what to pack can quickly become overwhelming. From navigating bustling train stations to preparing for the intense humidity of a Japanese summer, your gear choices can truly make or break your travel experience.

I am breaking down my entire minimalist, one-bag travel gear setup filmed completely prior to my departure. Because staying mobile is my top priority, I am pulling back the curtain on the exact strategy and justification behind every single item in my bag. Plus, I will share a few critical, lesser-known Japan transit tips that will save you massive headaches on arrival.


Watch the Full 25-Minute Packing Deep Dive

Want to see how I pack every item and hear the full strategic breakdown? Watch the detailed video below:


The One-Bag Travel Philosophy: Why I Ditched Roller Bags

When you picture traveling abroad, you might automatically think of rolling a massive suitcase behind you. However, for a multi-city trip through Japan, traditional rolling luggage can actually be a major liability.

Japan’s transit system is world-class, but navigating crowded train platforms, endless flights of subway stairs, and narrow, cobblestone streets with a bulky roller bag is exhausting. By committing to a minimalist, carry-on-only backpack setup, you maintain total mobility, hands-free flexibility, and can easily bypass the hassle of coin lockers or luggage forwarding services.

🚨 Critical Japan Tip: The Android vs. Apple Transit Card Trap

If you plan to use digital IC transit cards (like Suica or Pasmo) on your phone, your ecosystem matters. Apple iPhone users can seamlessly add and top up these cards directly within Apple Wallet.

However, if you have an Android phone purchased outside of Japan, it likely lacks the specialized Osaifu-Keitai (Felica) chip required to run digital transit cards. If you are an Android user, prepare ahead of time to purchase a physical welcome card at the airport instead!


The Bag System: Pakt 35L & Alpaka Bravo 8L

To pull off seamless carry-on travel, I rely on a highly efficient two-bag workflow consisting of a primary travel pack and a dedicated daily carry sling:

  • Primary Pack: The Pakt 35L Travel Bag – This pack acts as my portable closet. It opens flat like a suitcase, making organization incredibly simple, while still fitting perfectly into airline overhead compartments.
    πŸ‘‰ Get the Pakt 35L Travel Bag Here
  • Day Bag: The Alpaka Bravo 8L Sling – Once I arrive at my accommodations, the main pack stays behind, and the Alpaka sling becomes my daily companion. It is just the right size to securely hold my wallet, passport, phone, and camera gear while exploring.
    πŸ‘‰ Get the Alpaka Bravo 8L Sling Here

Clothing Strategy: Surviving the Japanese Summer

If you are traveling during the warmer months, packing light requires smart fabric choices. To minimize bulk, I pack a limited rotation of high-quality **Merino Wool shirts and socks**.

Merino wool is a literal superpower for travel; it naturally regulates body temperature, breathes exceptionally well, and features built-in odor control. This allows you to wear garments multiple times between washes, cutting your total clothing packing list entirely in half.

The Electronics Setup: 100% USB-C Ecosystem

Nothing weighs a tech bag down faster than a tangled mess of proprietary power bricks and cables. To combat this, my entire electronics rig is built strictly around the **USB-C standard**.

From my camera gear down to my personal grooming itemsβ€”including my electric shaving device and toothbrushβ€”everything charges via a single uniform cable. To power it all, I carry a single 200W charging brick capable of charging my laptop, phone, and accessories simultaneously from a single wall outlet.


What’s Next? The Post-Mortem Analysis

Because this packing list was put together completely prior to the trip, it represents the ultimate theoretical layout. Once I return, I will be publishing a complete post-mortem analysis to review what items were absolutely essential, what went unused, and how the gear actually held up under the pressure of real-world travel.

Are you planning a trip to Japan? What is the one piece of travel gear you absolutely cannot live without? Let me know in the comments below!
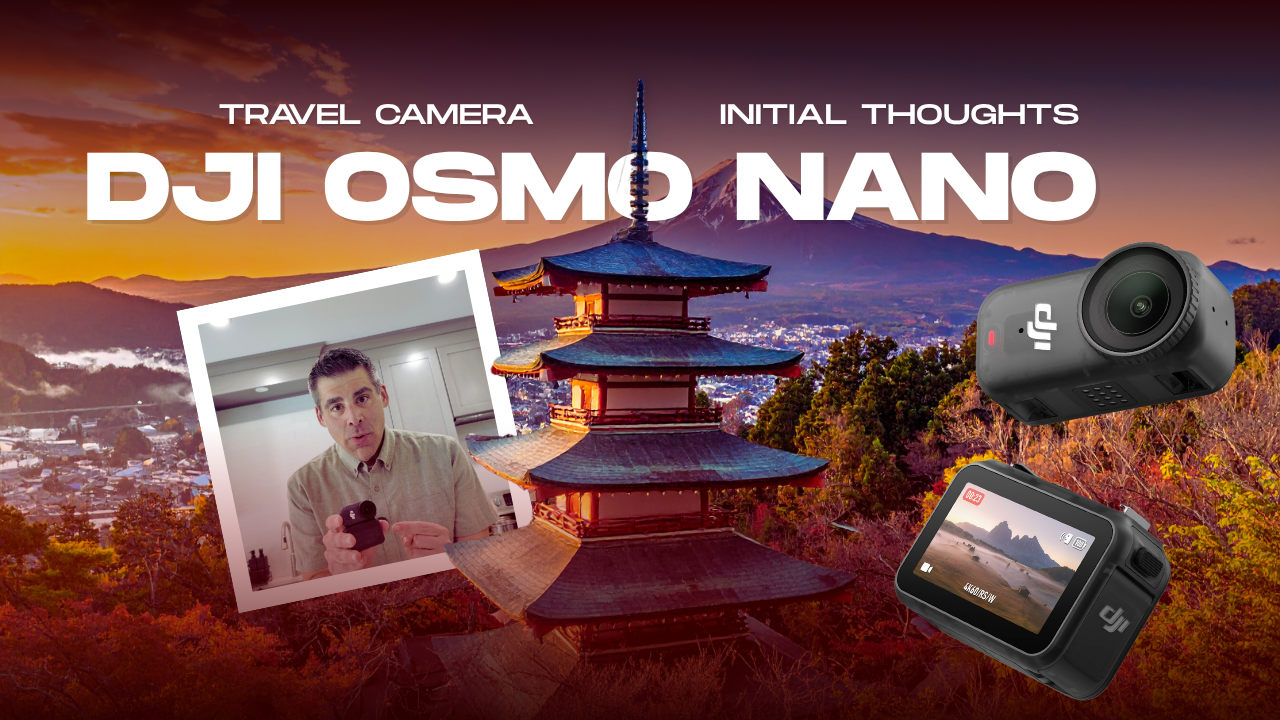
DJI Osmo Nano Review: Perfect Travel Camera?

Are you looking for the ultimate compact, lightweight travel camera setup? If you have an upcoming trip where being discreet and mobile is a priorityβ€”like navigating the bustling streets of Tokyo or Kyotoβ€”finding the right gear balance is crucial.

I recently purchased the DJI Osmo Nano specifically to help capture video for my upcoming trip to Japan. My goal wasn’t to replace my current workflow, but rather to find a device that could seamlessly compliment my DJI Osmo Pocket 3 while taking full advantage of the excellent DJI microphone ecosystem.

In this hands-on real-world review, I pair the Osmo Nano with the ultra-compact DJI Mic Mini during an outdoor walk-and-talk test. We will break down the performance, the battery life, and some distinct operational quirks you need to know before buying.


Why the DJI Osmo Nano is the Ultimate Travel Companion

When preparing for travel photography and vlogging in international destinations like Japan, two factors trump everything else: size and discretion. Walking around with a massive DSLR or a complex mirrorless rig can alienate locals and tire you out after 20,000 steps.

The first thing that strikes you about the DJI Osmo Nano is its footprint. It is incredibly light, highly versatile, and small enough to slip unnoticed into a jacket pocket. For solo travelers or run-and-gun creators, this discreet nature is worth its weight in gold. It allows you to capture candid, organic moments without drawing unnecessary attention to yourself.

Building the DJI Ecosystem: Pairing with the Osmo Pocket 3

If you already own the DJI Osmo Pocket 3, you might wonder why you need the Nano. For my travel setup, they serve as the perfect duo:

  • DJI Osmo Pocket 3: Acts as my primary B-roll and cinematic narrative camera.
  • DJI Osmo Nano: Serves as my quick-access, ultra-discreet secondary angle or quick-capture tool when deploying the Pocket 3 is too slow or too conspicuous.

Crucially, because both devices exist within the modern DJI ecosystem, managing files, color profiles, and accessories becomes frictionless. But the real magic happens when you introduce audio.

Audio Performance: Testing with the DJI Mic Mini

A beautiful image means nothing if your audio is unusable. For my outdoor walk test, I paired the Osmo Nano with the tiny DJI Mic Mini transmitter.

During a brisk outdoor walk-and-talk session, the microphone ecosystem worked exceptionally well under normal conditions. The Mic Mini clips on seamlessly, keeping the overall rig beautifully lightweight. The internal audio processing handled wind rejection admirably, ensuring clear vocals even while moving through noisy outdoor environments.

The Good: Battery Life and Stabilization

During my initial testing phases, the device excelled in two major categories:

  1. Battery Endurance: Despite its small form factor, the battery life proved to be very good. It easily handles extended shooting intervals throughout a day of casual touring without causing battery anxiety.
  2. Stabilization & Performance: DJI’s tracking algorithms and electronic stabilization remain top-tier. Moving at a normal walking pace produced fluid, cinematic imagery that rivals much larger setups.

⚠️ The Quirks: Detaching the Base Monitor

It is not all perfect, however. The DJI Osmo Nano introduces a few workflow quirks when you detach the main unit from its base monitor.

When running detached, the monitor goes black if you have a wireless microphone connected. If you plan to heavily utilize external audio like the Mic Mini while using the device split apart, you will need to be comfortable shooting without the screen so you aren’t caught off guard in the field.


Final Verdict: Should You Buy It For Travel?

Despite its minor operational quirks when separated from its base, the DJI Osmo Nano is an exceptional piece of engineering. Its combination of pocketable size, robust battery life, and excellent performance makes it a stellar asset for travel content creation.

If you are looking for a discreet, high-performing camera rig that syncs perfectly with your existing DJI gear (like the Pocket 3 and Mic Mini) for a trip to Japan or anywhere else in the world, the Osmo Nano absolutely deserves a spot in your camera bag.


Are You Planning a Travel Vlog Rig?

What is your go-to camera gear for international travel? Are you thinking about adding the Nano to your setup? Let me know in the comments section below!

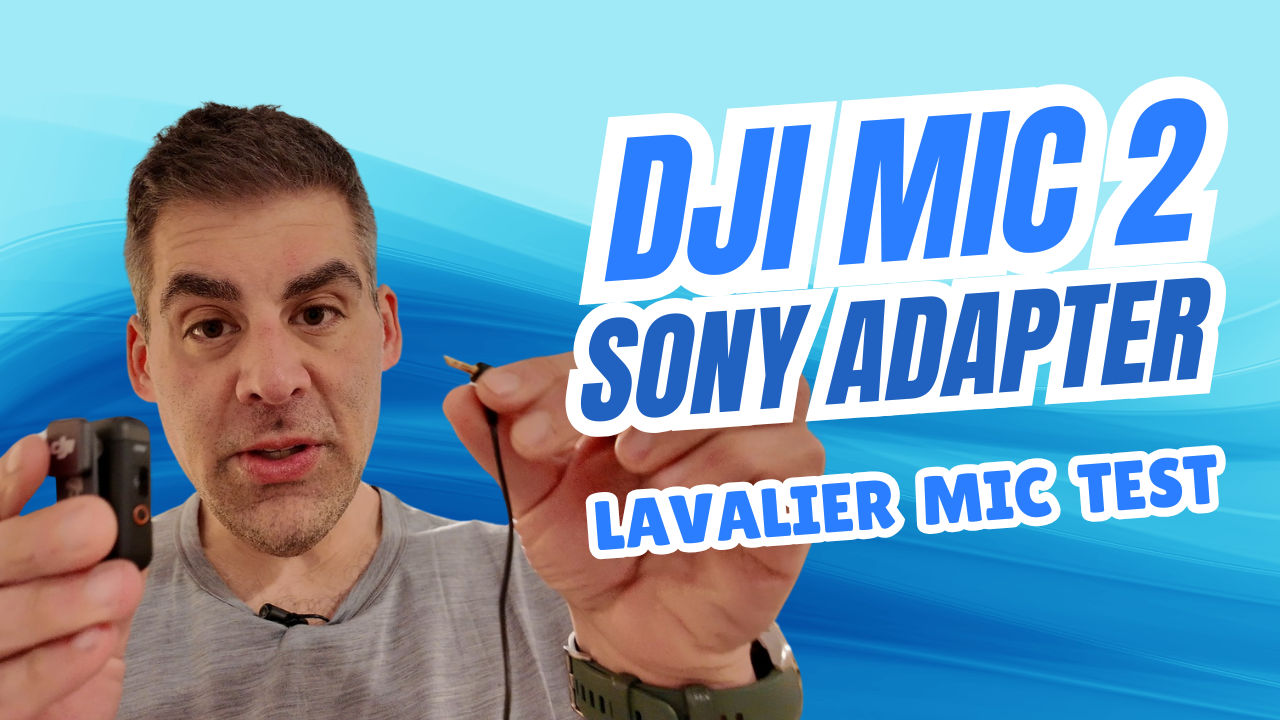
Lavalier Mic Shootout! DJI vs. Sony vs. Weishan

In this video, I put three different lavalier microphones to the test with my DJI Mic 2 wireless system! I wanted to see if upgrading from the built-in microphone was worth it, especially in different recording environments.

Here’s a breakdown of the mics I tested:

  • DJI Lavalier Microphone ($36): This mic performed consistently well both indoors and outdoors, providing clear and reliable audio.
  • Sony Stereo ECMLV1 Lavalier Microphone ($28): The Sony mic delivered fantastic audio quality, particularly in indoor settings, with a rich and detailed sound.
  • Weishan 2-Pack Lavalier Microphones ($12 – or $6 each): At just $6 each, these mics offered surprisingly decent audio. They’re a great budget option for those who need multiple mics or are just starting out.

I tested each mic in various conditions, including indoor quiet spaces, outdoor windy environments, and general speaking scenarios. I’ll share my thoughts on the sound quality, ease of use, and overall value of each microphone.

Overall, I found that using a dedicated lavalier microphone significantly improved the audio quality of my DJI Mic 2 system. If you plan on using your DJI Mic 2 for field recordings or in situations where clear audio is crucial, investing in a good lav mic is definitely worth it.

DJI Mic 2 + Sony Adapter: Lavalier Boosts Audio?

Is the DJI Mic 2’s audio too low when using the Sony digital adapter? In this video, I address the common criticism of low audio levels when pairing the DJI Mic 2 wireless microphone system with Sony cameras, specifically the Sony A7C.

Many users, including myself in a previous video, have noticed that the audio output is significantly lower than expected, requiring substantial gain adjustments. In response to a subscriber’s request, I’ve conducted a thorough test using a lavalier microphone connected to the DJI Mic 2 transmitters.

This test focuses on whether using a lavalier microphone can effectively solve the low audio level issue. I tested the setup with both the Sony A7C and the DJI Osmo Pocket 3, providing a comprehensive look at the audio performance.

Here’s what you’ll find in this video:

  • Testing the DJI Mic 2 with the Sony digital adapter and a lavalier microphone.
  • Comparing audio levels with and without the lavalier mic.
  • Real-world audio tests using the Sony A7C.
  • Testing the same lav mic setup with the DJI Osmo Pocket 3.
  • Analysis of audio quality and gain requirements.
  • Addressing the low audio criticism and providing potential solutions.
  • Comparing this test to my previous test that showed low levels.

If you’re experiencing low audio levels with your DJI Mic 2 and Sony camera setup, this video is for you! Discover if a lavalier microphone can be the solution you’ve been searching for.

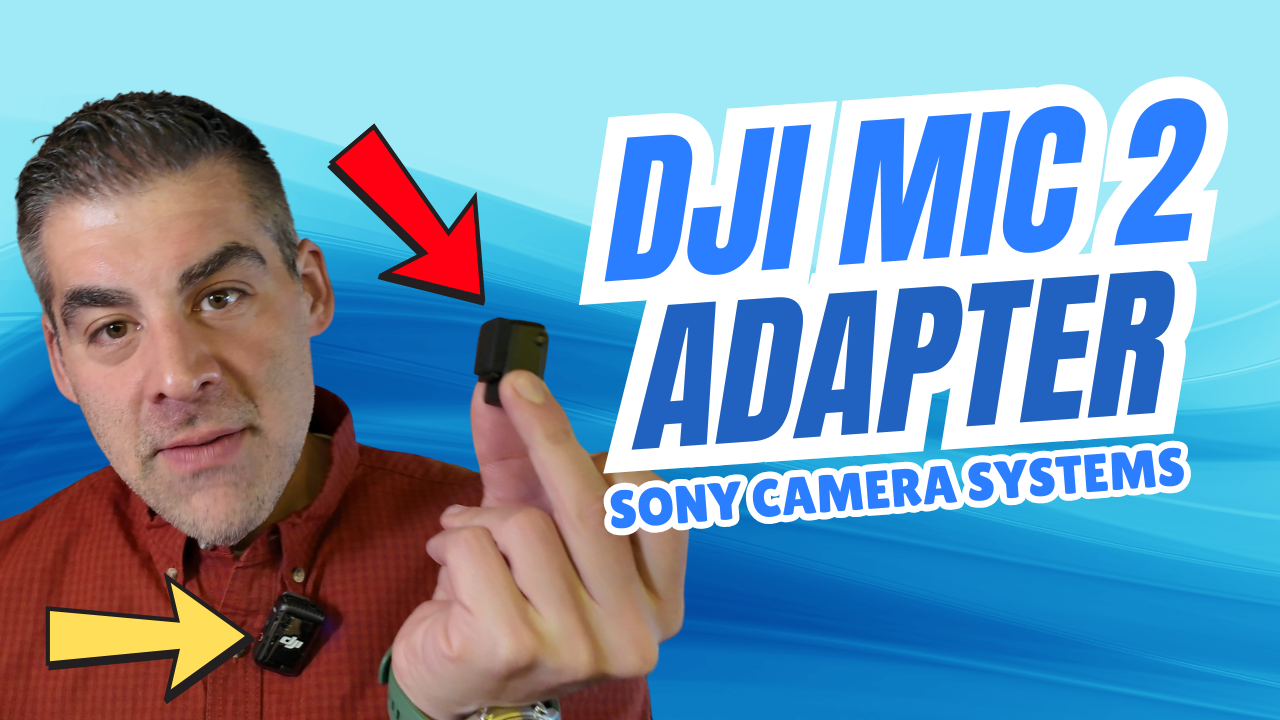
DJI Mic 2 on Sony A7C: Audio Test & Gain Settings

I tested DJI Mic 2 with the new camera adapter for Sony systems! I’ll show you how it performs with my Sony A7C and compare it directly to the DJI Osmo Pocket 3.

I noticed the audio levels were initially very low with the default settings when using the Sony adapter. So, I’ll walk you through the process of adjusting the gain on both the receiver and the mic transmitters to achieve optimal sound quality. You’ll see (and hear!) the progression of the audio as I make these adjustments.

This test demonstrates the versatility of the DJI Mic 2, allowing you to use it with both your DJI Osmo Pocket 3 and your Sony camera system. This makes it a fantastic option for content creators who work with multiple camera setups.

Here’s what I cover in this video:

  • DJI Mic 2 Sony Adapter Setup
  • Audio Test: Osmo Pocket 3 vs. Sony A7C
  • Troubleshooting Low Audio Levels
  • Adjusting Gain Settings on the Receiver and Transmitters
  • Sound Quality Comparison
  • Pros and Cons of the DJI Mic 2 Sony Adapter

If you’re looking to improve your audio quality with your Sony camera and want a versatile microphone solution, the DJI Mic 2 might be perfect for you.

Related Videos:

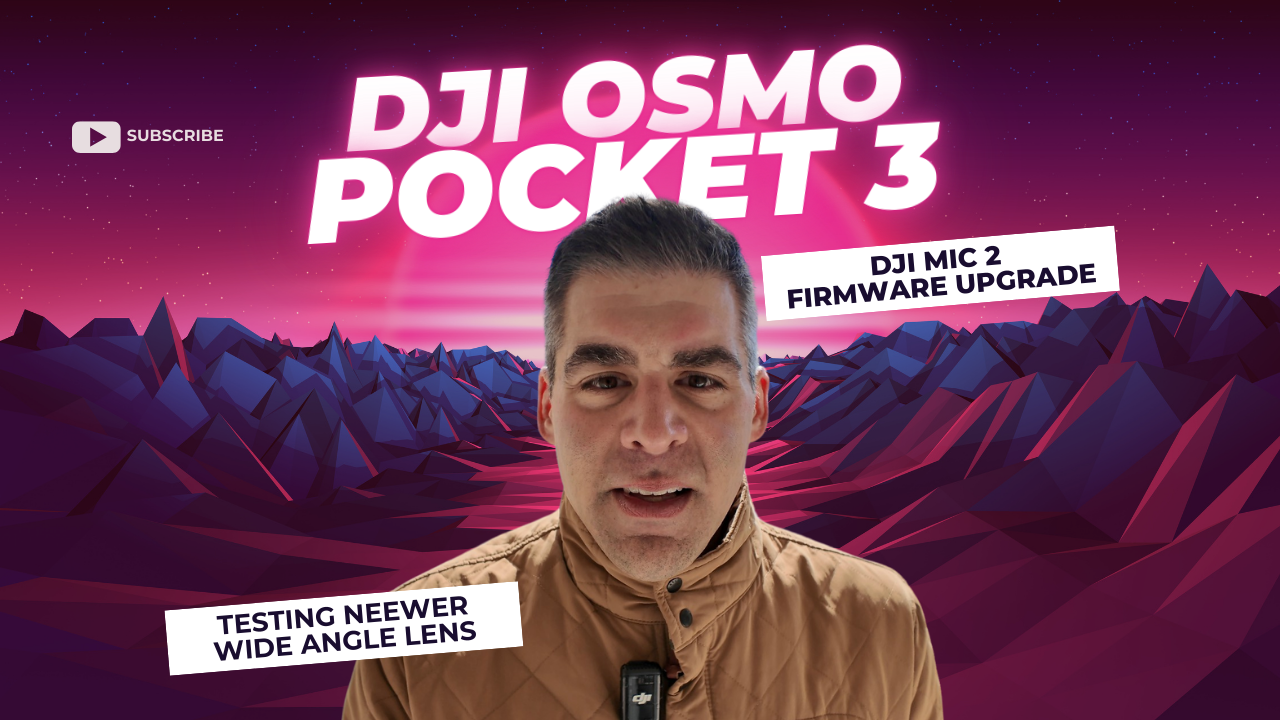
Osmo Pocket 3: Mic 2 Firmware Update + Wide Angle Test!

πŸŽ₯ Welcome back to Day 2 of testing the DJI Osmo Pocket 3! In this video, I’m focusing on some key improvements and new gear I’ve been experimenting with for better vlogging.

🎀 First up, the DJI MIC 2! After a crucial firmware update and adjusting its positioning closer to my mouth, the audio quality is drastically improved. Hear the difference for yourself! I’m sharing my settings and tips for optimal sound.

πŸ” I also tested the Neewer wide angle lens adapter for the Osmo Pocket 3. While it does provide a slightly wider field of view, I did encounter some lens flare. We’ll take a close look at the pros and cons and whether it’s worth it for your vlogging setup.

πŸšΆβ€β™‚οΈ To make my outdoor walk and vlogging experience more comfortable, I used my trusty MantisPod. This extended my reach and made handholding much easier, resulting in smoother and more dynamic shots.

πŸ› οΈ In this video, you’ll see:

  • Real-world audio tests with the updated DJI MIC 2.
  • A detailed look at the Neewer wide angle lens adapter and its effects.
  • How the MantisPod enhances vlogging with the Osmo Pocket 3.
  • My overall impressions and tips for improving your Osmo Pocket 3 vlogs.

πŸ‘ If you’re looking to enhance your DJI Osmo Pocket 3 vlogging setup, especially improving your audio with the DJI Mic 2, this video is for you!

Don’t forget to like, comment, and subscribe for more tech reviews and vlogging tips.