If you’re looking for an easy high protein dessert that actually tastes good, this cottage cheese cheesecake pudding might be one of the simplest recipes you can make.
No baking. No complicated steps. Just mix a few ingredients together, let it sit overnight, and you’ve got a creamy, low-carb, high-protein dessert ready to go.
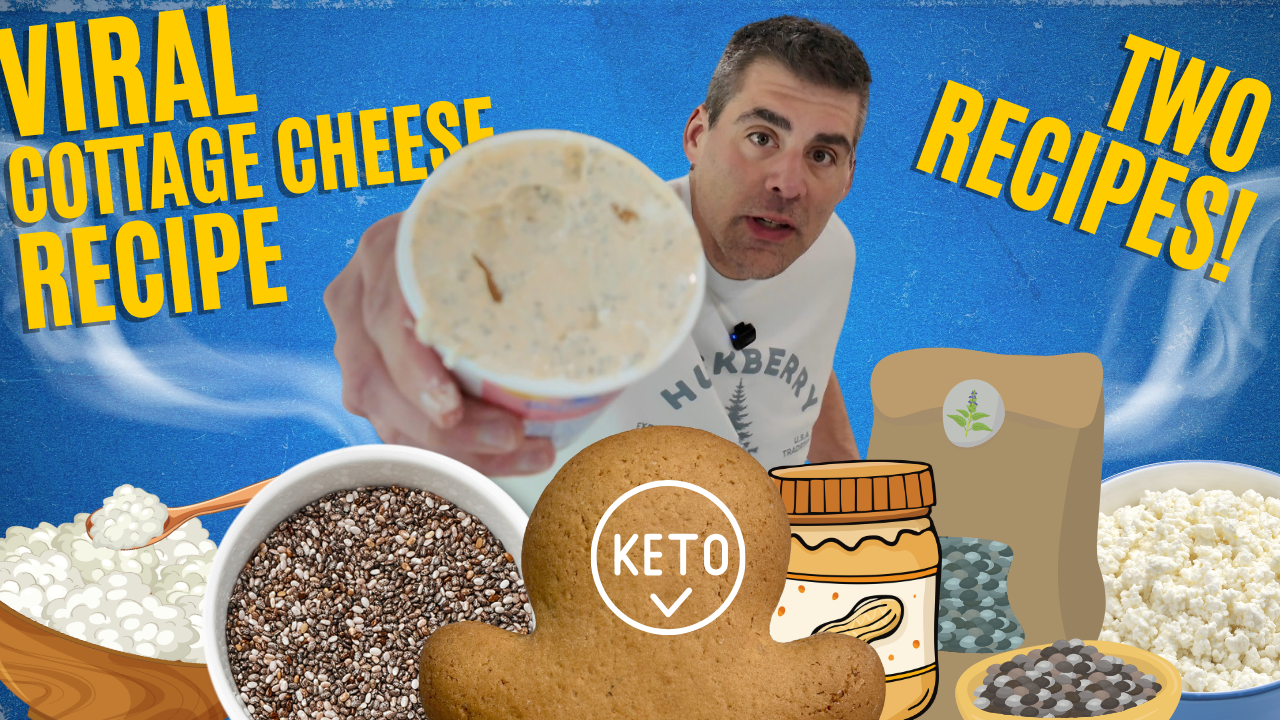
The best part? This recipe works as a base. In this post (and video), I made two different flavors to show how easily you can customize it.
🎥 Watch the Full Video
🥣 Base Recipe (Used for Both Flavors)
- 1 container cottage cheese (4 servings)
- 1 serving chia seeds
- 1 pack ChocZero Speculoos cookies
- 3 tablespoons monkfruit or allulose sweetener
- 1 tablespoon vanilla extract
Instructions: Mix everything thoroughly and refrigerate overnight to allow the chia seeds to set and thicken the pudding.
🍰 Flavor 1: Classic Cheesecake
- Add: 1 pack ChocZero Dunkies
This version is simple, creamy, and closest to a traditional cheesecake flavor.
🍌🥜 Flavor 2: Banana Peanut Butter Cheesecake
- Add: 1 tablespoon banana extract
- Add: 1 scoop peanut butter protein powder
- Replace Dunkies with ChocZero Peanut Butter Stackers
This version is richer and more dessert-forward, with a completely different flavor profile using the same base.
📊 Macros (Estimated)
Macros will vary depending on brands and protein powder used.
Per Serving (Split Into 3)
Classic Version
- Calories: ~225
- Protein: ~24g
- Fat: ~8g
- Net Carbs: ~7g
Banana Peanut Butter Version
- Calories: ~260
- Protein: ~28g
- Fat: ~10g
- Net Carbs: ~7–8g
💡 Why This Recipe Works
- High protein from cottage cheese (and optional protein powder)
- No baking required
- Great texture after chilling overnight
- Customizable base for endless flavor variations
- Perfect for keto, low-carb, or high-protein diets
🔁 Flavor Ideas to Try Next
- Chocolate peanut butter
- Strawberry cheesecake
- Cinnamon roll cheesecake
- Cookies & cream
This is one of those recipes that gets better the more you experiment with it.
🧠 Final Thoughts
This high protein cheesecake pudding is one of the easiest desserts I’ve made, and it’s a great example of how simple ingredients can go a long way.
Whether you’re doing keto, focusing on protein, or just want a quick dessert, this is a recipe you can keep coming back to and improving.
If you try it, let me know what flavor combination you come up with — I’m definitely making more versions of this.