Easy Low-Carb Keto Flax and Chia Seed Bread

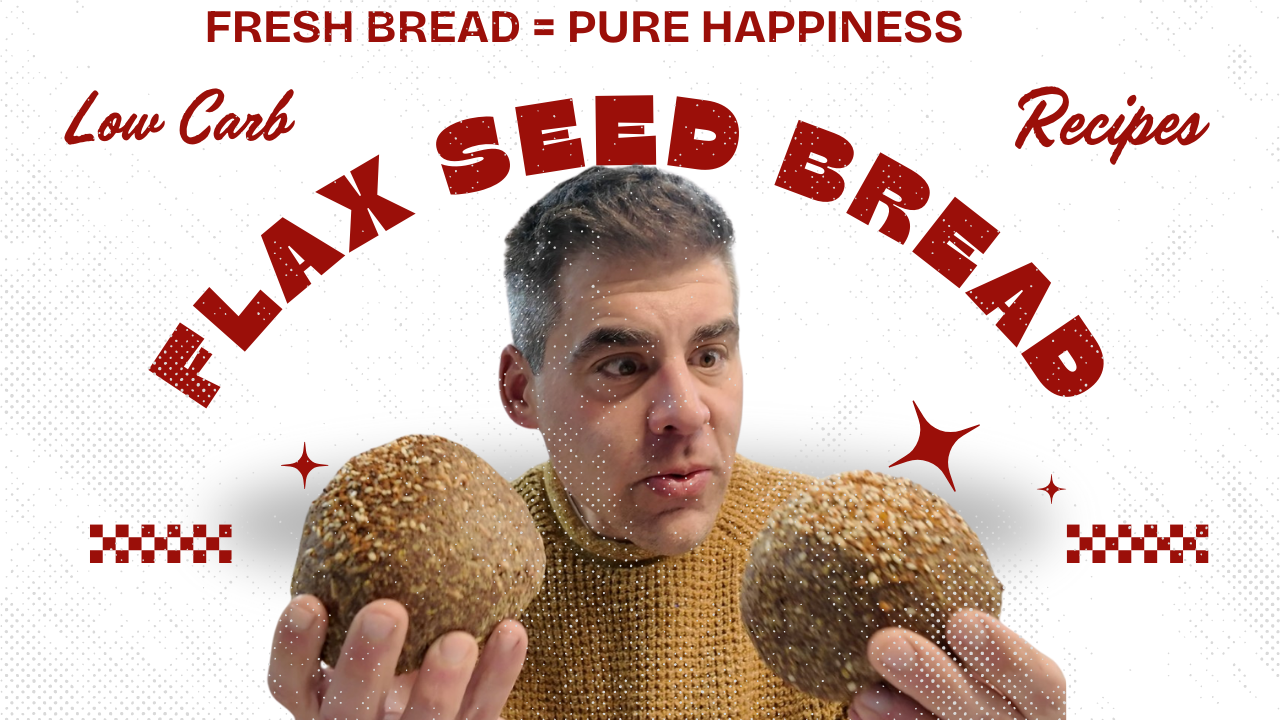
Why I Love This Keto Seed Bread

If you’re looking for a simple, reliable low-carb, keto-friendly bread that doesn’t involve complicated flour substitutions, this chia and flax seed bread is a great place to start.

The recipe is easy to follow, it came out genuinely delicious, and it’s an awesome way to get more fiber and omega-3 fats into your diet. The texture is hearty and filling—more “dense seed bread” than “white sandwich loaf”—which is exactly what I want when I’m trying to stay low-carb.

Bonus: if you omit the sunflower seeds, this bread becomes extremely low carb—roughly ~4 net carbs for the entire loaf (depending on the ingredients you use and how you slice it).


Ingredients

  • 2 tbsp chia seeds + 4 tbsp water
  • 150 g flax seeds
  • 50 g sunflower seeds (toasted)
  • 1 tsp baking powder
  • A pinch of salt
  • 200 ml water
  • 1 tsp apple cider vinegar
  • Everything Bagel Seasoning (for topping)

Optional low-carb tweak: Skip the sunflower seeds to reduce carbs even further.


Directions

  1. Make the chia gel: Mix 2 tbsp chia seeds with 4 tbsp water and let it sit until it thickens.
  2. Mix dry ingredients: Combine flax seeds, toasted sunflower seeds, baking powder, and a pinch of salt.
  3. Add liquids: Stir in 200 ml water
  4. Combine: Add the chia gel and mix until everything is evenly incorporated.
  5. Flavorize: Form loaf into a ball shape, rub 1 tsp apple cider vinegar all over. Top with bagel seasoning
  6. Shape and top: Transfer to your baking pan or shape into a loaf, then sprinkle sesame seeds on top.
  7. Bake: Bake until set and firm throughout (oven times vary by pan size and thickness).
  8. Cool before slicing: Let it cool completely so it firms up and slices cleanly.

Tips for Best Results

  • Toast the sunflower seeds for better flavor and crunch.
  • Let it cool fully before slicing—this makes a huge difference in texture.
  • Slice thin and toast it if you want a more “bread-like” bite.
  • Store it properly: Keep it refrigerated to maintain freshness, or freeze sliced pieces for quick use.

Why This Bread is Great for Keto

  • Very low net carbs (especially if you omit sunflower seeds)
  • High fiber which helps with fullness and digestion
  • Healthy fats from flax and chia, including omega-3s
  • No flour, no sugar, and a simple ingredient list

A Great “Base Recipe” You Can Build On

One of the best things about this chia + flax bread is that it’s a solid foundation for experimentation. You can easily build on it with different keto-friendly add-ins like:

  • Garlic powder, onion powder, or Italian seasoning
  • Rosemary and sea salt
  • Parmesan or shredded cheddar (if your diet allows)
  • Chopped jalapeños or red pepper flakes for heat

If you try a variation, I’d love to hear what you added and how it turned out.


Final Thoughts

This is one of the easiest low-carb “bread” recipes I’ve made, and it’s a great option if you want something filling without blowing your carbs for the day. It’s hearty, nutrient-dense, and surprisingly tasty—especially toasted.

High Protein Keto Chocolate Chip Cookie!

Why I Made This Giant Keto Cookie

This post pairs with my latest cooking video where I attempt to make a flour-less, egg-less, giant chocolate chip cookie that’s been making the rounds in the keto community. I’ve made this recipe a few times already and I honestly think it’s really good — soft, satisfying, and surprisingly “cookie-like” for something with no flour and no eggs.

But the real reason I filmed my own version? I wanted to challenge myself to make a cooking video that doesn’t look terrible. I’ve done a few in the past and… yeah… they weren’t great. This time I took the filming side seriously and I’m actually pleased with how it turned out.


Credit: Where This Recipe Came From

This recipe went viral thanks to The Keto Twins, and I originally found it through Highfalutin’ Low Carb. Full credit to both channels for inspiring this one:

The Keto Twins:
https://www.youtube.com/@ketotwins

Highfalutin’ Low Carb:
https://www.youtube.com/@HighfalutinLowCarb


The Filming Setup (Because This Was Also a Video Experiment)

I used this recipe as an excuse to level up my cooking video production. Here’s what I filmed with:

  • DJI Osmo Pocket 3 (the movement tracking was honestly awesome)
  • DJI Wireless Mic 2 (audio sounded great)
  • DJI Osmo Action 4 as a tabletop camera to capture hand movements

If you’ve ever tried filming cooking content, you know how hard it is to make it look clean and understandable. Compared to my older attempts, this is a huge improvement — and I’d love feedback on what worked and what I can do better next time.


Flourless & Eggless Giant Keto Chocolate Chip Cookie

Ingredients

  • 2 tbsp sweetener (Brown Swerve or golden allulose/monk fruit blend)
  • 4 tbsp unflavored whey protein
  • 2 tbsp natural unsweetened peanut butter
  • 1/4 cup whole-fat cottage cheese (blend it smooth)
  • 1 tsp baking powder
  • 1 pinch of salt
  • 2 tbsp sugar-free chocolate chips (Lily’s, ChocZero, or Whole Foods sugar-free)

Directions

  1. Preheat oven to 350°F.
  2. Microwave the peanut butter for 20 seconds to soften it.
  3. Mix the dry ingredients together (sweetener, whey protein, baking powder, salt).
  4. Blend the cottage cheese until smooth.
  5. Mix the peanut butter and cottage cheese together, then slowly mix in the dry ingredients and chocolate chips.
  6. Place dough on a baking sheet lined with a silicone baking mat and form one giant cookie.
  7. Bake for 9–11 minutes. Keep an eye on it — you want it slightly undercooked, not overbaked.

Tips for the Best Texture

  • Don’t overbake it. This is the #1 rule. Pull it early and let it set as it cools.
  • Blend the cottage cheese well. You want it smooth for the best texture.
  • Let it cool. It firms up and becomes more “cookie-like” after a few minutes out of the oven.

Final Thoughts

I’ve made this keto cookie recipe multiple times now, and it continues to be a win — especially if you want something sweet without flour or eggs. But for me, this one is also a small personal victory on the content side: the filming, audio, and angles came out way better than my earlier cooking videos.

If you try this recipe, I’d love to hear how it turned out — and if you watched the video, tell me what you think about the filming setup.

Question for you: Do you prefer a cookie with crispy edges or a soft center?

Lentil Soup Recipe

When it is cold outside, I make a pot of lentil soup just about every week.

I was inspired to record this cooking session thanks to some bone broth my father gave me. I felt like it would take my standard lentil soup to the next level and I was right.

Here are the ingredients since I don’t get into specific measurements in the video:

  • 1 lb. lentils (rinsed and inspected)
  • 2 cups chopped carrots
  • 2 cups diced onions
  • 2 cups diced celery
  • 4 garlic cloves (minced or pressed into paste)
  • 2 cups diced squash (optional)
  • 2 cans Rotel Original (Diced Tomatoes and Green Chilis)
  • 32 oz of stock (beef, vegetable, chicken – your preference)
  • 2 teaspoons Italian seasoning (or 2 bay leaves and 1 teaspoons of thyme)
  • 3 tablespoons sea salt (or to taste)
  • 3 tablespoons of Gourmet Collection Seasoning Blend, (Smoked Paprika, Garlic, Chili & Chives)
  • Water (variable, at least 10 oz)

Recipe: Beef Jerky

(#beef, #beefjerky )

A few weeks ago I was in the office and needed a little break, so me and a co-worker went across the street to the drug store. He was working out later and wanted something high protein and didn’t like the selection of powders. I just said “try some beef jerky.”

He looked at me funny and asked “isn’t that bad for you?”

I laughed and said “slim jims are bad, really greasy and high in fat, but normal beef jerky is low calorie, high protein, and low fat. But the drawback is that it is high in sodium”.

Long story short, he looked at a packet and confirmed the information I gave him and we got some to take back to the office. When I got home that night, I looked for dehydrators on Amazon. I decided to make my own damn jerky with less salt. I ended up buying the Nesco FD-75PR 700-Watt Food Dehydrator.

I called up Mean Joe and he got me some extremely lean organic grass fed beef:

I marinated the meat for 12 hours with a simple recipe:

Marinade:

2 lbs of extremely lean beef cut into 3/4 inch long strips
6 crushed bulbs of garlic
3/4 cup of teriyaki sauce
1 tablespoon of McCormick Montreal Steak Seasoning 29 oz

Jerky Directions:
1. Allow the meat to marinate for 12 hours in the refrigerator. Place the meat on paper towels before you start to dehydrate to get off any excess liquids.
2. Follow the directions of your dehydrator – but mine is a round multi-leveled system. I placed the meat in the trays and re-stacked them once they were full…

3. Based on volume, allow the device to dehydrate the meat for 7-14 hours. I took mine out at 7 hours because the meat was starting to look crispy.
4. Place the completed jerky on paper towels again to soak off any grease.
5. Place in mason jars or plastic bags and refrigerate for maximum freshness.

Recipe: Joey’s Meatballs (v2)

( #meatballs )


NOTE: You can use whatever meat you want for this recipe, but I used a blend yesterday so that is what I am going to use in the directions.

INGREDIENTS:

Meatballs:
1 lb – ground Beef (80/20)
½ lb – ground veal
½ lb – ground pork
3 slices of Italian bread (cut off crusts and cube)
½ cup of milk
2 eggs
½ cup of breadcrumbs
½ cup of grated cheese (parm-reg)
1 teaspoon oregano
1 teaspoon parsley
½ teaspoon thyme
1 teaspoon of garlic salt
salt and pepper to taste

Sauce:
1 16 oz can of crushed tomatoes
½ large Spanish onion (diced)
3 cloves of garlic (pressed/diced)
½ cup of white wine
1 teaspoon oregano
1 teaspoon parsley
1 teaspoon crushed red pepper flakes
½ teaspoon thyme
salt and pepper to taste

DIRECTIONS:

You have to make the sauce first because you will line the pan when baking the meatballs.

1. Preheat the oven to 350 degrees
2. Get a sauce pan and set stove top to medium heat. Add olive oil and let it warm up. Then add the onions and cook for about 4 minutes.
3. Add the garlic cook for 3 more minutes
4. Optional: Add a splash of Worcestershire sauce to the onions and garlic and stir.
5. Bring the heat to high and then add the white wine to glaze the onions (1-2 minutes – don’t let it burn)
6. Add the crushed tomatoes, mix everything well.
7. All the oregano, parsley, red pepper flakes, thyme, salt and pepper to the sauce. Mix well and then drop heat to a simmer.
8. Allow the sauce to cook for 15 minutes (leave the sauce in the pan, you will need this setup later)

9. Get a deep cookie sheet and line the pan with the tomato sauce. Set it aside until you are ready to roll the meatballs.
10. In a large bowl, soak the bread you cube in the milk. Let it get really soggy to the point that it falls apart.
11. Add the two eggs and the oregano, parsley, thyme, garlic salt, salt and pepper to the bowl and mix well.
12. Add the meat and mix with your hands. Then add the grated cheese and breadcrumbs. Continue to mix well with your hands.
13. Start to roll the meat into balls with your hands (I like them to be the diameter of a half dollar, or just a little bit smaller). Place the meatballs onto the cookie sheet that you put the sauce on.
14. Put the meatballs in the oven for 40 minutes.
15. Heat up the tomato sauce again and when the meatballs are done, put them in the pan and toss them around for 5 minutes to soak up the tomato sauce flavor.

Serve them in a bowl alone, in a sandwich, or with pasta.