
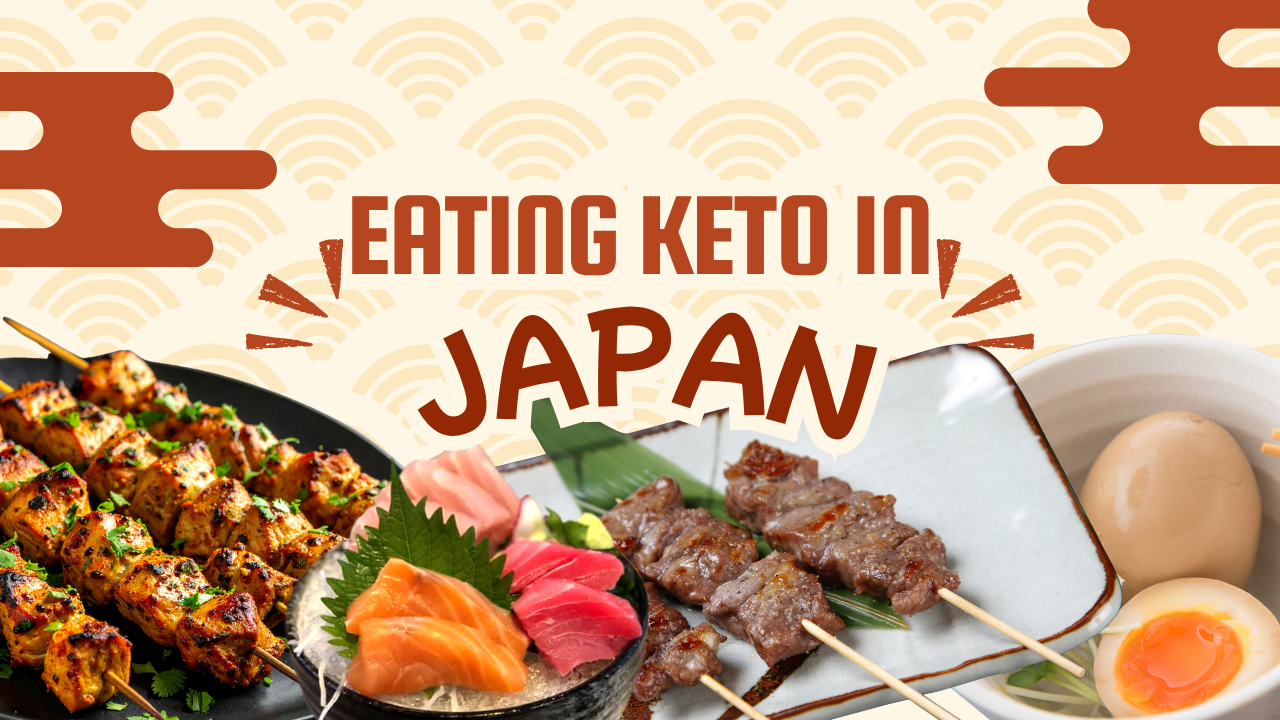
Eating Keto in Japan: What I Ate and What Made It Difficult

Eating keto in Japan was possible, but it was more complicated than I expected. Finding meat, eggs and other low-carb foods was rarely the problem. The real challenge was identifying small amounts of sugar hidden in sauces, marinades, prepared foods and dishes that appeared keto-friendly.

During our trip through Osaka, Hokkaido and Tokyo, I managed to maintain a mostly low-carb diet. Japanese convenience stores gave me reliable emergency options, while yakiniku and yakitori restaurants made it relatively easy to order grilled meat.

However, “not very sweet” did not always mean “no sugar.” I had to read labels, ask questions and accept that I would not have perfect information at every meal.

This article is based on my personal travel experience. It is not medical advice, and anyone who must avoid an ingredient for diabetes, allergies or another medical condition should confirm preparation methods directly with the restaurant.

Is Eating Keto in Japan Possible?

Yes. Japan has no shortage of meat, seafood, eggs, tofu and fresh vegetables. The difficulty is that many of those foods are served with rice, noodles, breading or sauces containing sugar.

Japanese food has a reputation for being healthy, but healthy and keto are not the same thing. A meal can include reasonable portions, fresh ingredients and relatively little processed food while still containing enough rice, sweet sauce or starch to make it unsuitable for a strict ketogenic diet.

I was able to remain mostly low carb by focusing on simple grilled meat and packaged foods with readable nutrition labels. I avoided trying to recreate my exact diet from home and concentrated on making the best available choice at each meal.

Low-Carb Foods at Japanese Convenience Stores

Convenience stores became one of my most reliable sources of low-carb food. Stores such as 7-Eleven, Lawson and FamilyMart were easy to find, stayed open late and sold individual portions that made it possible to build a simple meal.

Salad Chicken

Packaged “salad chicken” was probably the easiest option. This is a prepared chicken breast sold cold in the refrigerated section.

Plain and lightly seasoned versions were usually the safest choices. Some flavored varieties contained additional carbohydrates, so I still checked the label rather than assuming every package was identical.

Salad chicken was convenient, filling and easy to carry, although I eventually became tired of eating so much chicken.

Shio Chicken Skewers

I also looked for chicken skewers seasoned with shio, the Japanese word for salt.

Salt-seasoned skewers were generally a better low-carb choice than skewers coated with tare, the glossy sauce commonly used on yakitori. Tare often contains ingredients such as sugar, mirin and soy sauce.

However, “shio” does not guarantee zero carbohydrates in every prepared product. Packaged seasoning blends and marinades can still contain sugar or starch, so checking the label remains important.

Boiled Eggs and Other Simple Proteins

Plain boiled eggs and simply prepared meat could also work well. The key word is plain.

Prepared egg dishes were less predictable. For example, tamagoyaki is a rolled Japanese omelet that is commonly seasoned with sugar and soy sauce. The eggs themselves are low carb, but the finished dish may not be.

This was one of the recurring challenges: a food could look like an obvious protein choice while containing ingredients I would not have expected.

Lotte ZERO Chocolate

Lotte ZERO Chocolate became one of the few packaged sweets I regularly purchased.

It is labeled as containing zero sugar and zero sugars. However, that does not mean it contains zero carbohydrates.

According to Lotte’s official nutrition information, one 10-gram bar contains:

  • 5 grams of total carbohydrate
  • 4 grams of tōshitsu, or available carbohydrate
  • 1 gram of dietary fiber
  • 0 grams of sugars

The chocolate uses sugar alcohols and other sweeteners. Whether it fits your personal keto limits depends on your approach, portion size and response to those ingredients.

The larger lesson is that a product labeled “zero sugar” should not automatically be treated as zero carb.

Low-Carb Options at Yakiniku and Yakitori Restaurants

Yakiniku and yakitori restaurants provided some of my best restaurant options while eating keto in Japan.

Yakiniku

Yakiniku is a tabletop grilling experience in which diners cook individual pieces of meat themselves. It allowed me to concentrate on beef, pork and other proteins while skipping the rice.

The simplest cuts of meat were usually easier to evaluate than heavily marinated selections. Dipping sauces could contain sugar, so I used them cautiously or avoided them.

Yakiniku also worked well when traveling with family members who were not following my diet. Everyone could choose their own meat, sides and sauces without requiring the entire group to eat low carb.

Yakitori

Yakitori restaurants specialize in grilled skewers, commonly made with different cuts of chicken.

When possible, I ordered skewers with salt instead of tare:

Shio: Salt seasoning

Tare: A sweet and savory sauce that may contain sugar or mirin

Yakitori was one of the easiest ways to order several small portions of protein without receiving a large plate centered around rice or noodles.

As always, preparation varies by restaurant. Ordering shio reduced the likelihood of a sweet glaze, but it did not create an absolute guarantee that no sugar had been used.

Hidden Sugar Was the Hardest Part

The main obstacle was not resisting obvious desserts. It was identifying sugar in foods that did not look or taste particularly sweet.

Sugar can appear in:

  • Yakitori tare
  • Yakiniku dipping sauces
  • Teriyaki-style marinades
  • Tamagoyaki and other prepared egg dishes
  • Salad dressings
  • Pickled vegetables
  • Prepared meats
  • Soups and simmered dishes

Japanese cooking often balances salty, savory and sweet flavors. A small amount of sugar may be considered normal seasoning rather than something that makes a dish a “sweet food.”

That difference made communication difficult. When I asked whether a dish contained sugar, the answer was not always as clear as I hoped. A staff member might understand that I did not want a sweet dessert but not realize that I was asking about a small amount of sugar in a marinade.

This was not anyone being unhelpful. We were approaching the question from different perspectives.

Understanding Japanese Food Labels

Packaged products were sometimes easier than restaurant meals because I could examine the nutrition panel.

Three Japanese terms were particularly useful:

  • 炭水化物 — Tansuikabutsu: Total carbohydrate
  • 糖質 — Tōshitsu: Available carbohydrate excluding dietary fiber
  • 糖類 — Tōrui: Sugars, a narrower category within carbohydrates

This distinction matters. A package may display 糖類ゼロ, meaning zero sugars, while still containing 糖質, or other carbohydrates.

I learned to look beyond the large “ZERO” wording on the front and check the complete nutrition panel on the back.

Translation apps helped, especially when using the camera function to translate ingredient lists. They were not perfect, but they were better than making a decision based entirely on packaging images.

Is It Rude to Leave Rice in Japan?

Before the trip, I found a great deal of online advice claiming that Japanese chefs would be offended if a visitor failed to finish everything on the plate, particularly the rice.

That was not my experience.

I sometimes received rice automatically as part of a set meal. When I politely explained that I avoided it for health reasons, nobody appeared angry or insulted.

Japan values politeness and avoiding unnecessary waste, but restaurant etiquette is not a rigid system in which every unfinished grain of rice creates a cultural incident. The Japan National Tourism Organization currently describes dining etiquette as relatively simple and advises visitors to follow the atmosphere of the restaurant.

The better approach is to request no rice when ordering, if possible. That avoids waste and removes the need to leave it untouched later.

A polite health-related explanation was generally understood. I would not recommend making dramatic demands or asking a chef to redesign a complicated dish, but requesting no rice was not a problem during my trip.

Useful Japanese Phrases for Low-Carb Travelers

These phrases can make ordering easier:

ご飯なしでお願いします。
Gohan nashi de onegaishimasu.
No rice, please.

たれではなく、塩でお願いします。
Tare dewa naku, shio de onegaishimasu.
Salt instead of sauce, please.

砂糖は入っていますか?
Satō wa haitte imasu ka?
Does this contain sugar?

健康上の理由で糖質を控えています。
Kenkōjō no riyū de tōshitsu o hikaete imasu.
I limit carbohydrates for health reasons.

It may help to save these phrases as a screenshot. Showing written Japanese can be easier than trying to pronounce everything in a loud restaurant.

My Overall Experience Eating Low Carb in Japan

Eating keto in Japan was manageable, but it required more attention than I expected.

The country offered plenty of protein-based foods. Convenience stores, yakiniku restaurants and yakitori restaurants kept me from feeling as though I had no options.

The challenge was the small amount of sugar commonly added to sauces, marinades and prepared foods. Learning the difference between sugar-free and carbohydrate-free labeling was also important.

I did not find that restaurant staff became offended when I skipped rice or left it untouched. A polite explanation that I was limiting carbohydrates for health reasons was generally enough.

I would follow the same basic approach during another trip: rely on simple proteins, request salt instead of sweet sauce, read packaged-food labels carefully and accept that maintaining a perfect carb count may not always be possible.

Japan was not effortless for a keto traveler, but it was absolutely possible to make it work.
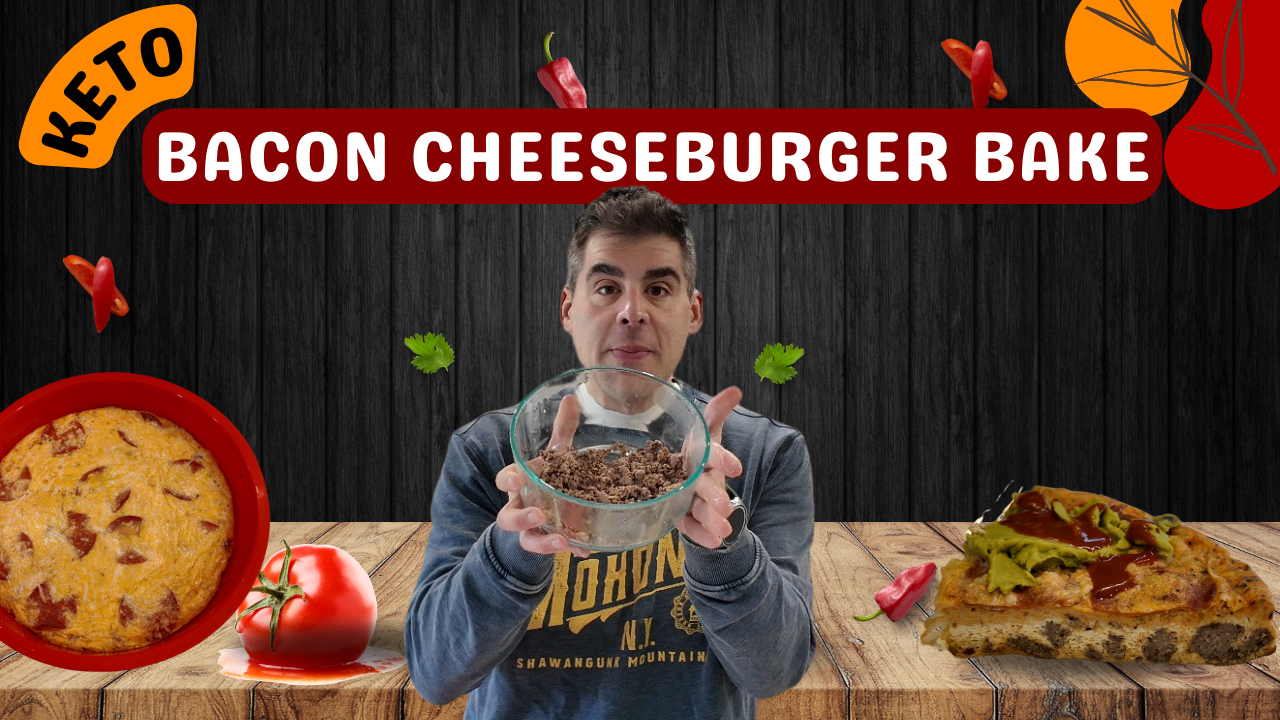
Keto Ground Beef Frittata – Easy High-Protein Dinner

If you’re looking for a keto ground beef recipe that’s high-protein, low-carb, and ridiculously easy to meal prep, this one’s become a staple for me. It’s basically a bacon cheeseburger frittata—ground beef + eggs + cheese—then finished with turkey pepperoni for that crispy edge.

I usually make this as one big dish and split it into two meals (perfect for one-meal-a-day / big satiating portions).


Watch the Video


Ingredients

  • 1/2 lb ground beef (93% lean)
  • 16 oz egg whites (about 250 calories / ~30 tbsp)
  • 1 whole egg (or ~3 tbsp whole egg)
  • 2 tbsp cottage cheese
  • 2 tbsp garlic chili sauce (very low calorie; ~<1g carbs per 2 tbsp)
  • 3 tbsp shredded parmesan cheese
  • 2 tbsp bacon bits (or crumbled bacon; choose a no-carb brand if you have one)
  • 10 slices turkey pepperoni (for topping)
  • 2 tbsp shredded parmesan cheese (for topping)
  • Optional: salt, pepper, garlic powder, onion powder (to taste)

Instructions

  1. Preheat oven to 350°F.
  2. Brown the ground beef in a skillet over medium heat until cooked through. Drain any excess fat if needed.
    Season lightly (salt/pepper/garlic powder are great here).
  3. In a food processor, throw in egg whites, whole egg, cottage cheese, and
    garlic chili sauce, 3 tbsp parmesan and bacon bits. Blend on low setting
  4. Add cooked ground beef into your baking dish (a round silicone pan or casserole dish works).
    Pour the egg mixture over the beef and gently mix so it’s evenly distributed.
  5. Top with turkey pepperoni and the remaining 2 tbsp parmesan.
  6. Bake for 25–35 minutes (until set and lightly browned). Times vary by dish depth—look for a firm center.
  7. Let it rest 10 minutes, then slice into wedges. (I split this into 2 servings.)

Meal Prep Notes

  • Portions: I cut this into 2 big servings and eat half per day.
  • Reheat: Microwave works, but air fryer/toaster oven brings back the pepperoni crisp.
  • Flavor upgrades: add dill pickles on the side, mustard, or a little hot sauce.

Estimated Nutrition (Whole Dish)

  • 🔥 920 Calories
  • 🥩 131g Protein
  • 🥑 38g Fat
  • 🥕 8g Total Carbs

Why This Works for Keto (and Ground Beef Fans)

Ground beef is one of the easiest ways to hit your protein goals on keto without complicated ingredients.
Pairing it with egg whites keeps the dish protein-forward, while parmesan + bacon delivers that cheeseburger flavor without the bun.


Crunchy Keto Nut Granola Recipe: Easy & Budget Friendly

If you’ve been living the low-carb lifestyle, you know the “Keto Tax” is real. Walk down any cereal aisle and you’ll find tiny 8oz bags of nut granola retailing for $11 or more. It’s expensive, the bags are half-air, and the clusters are often non-existent.

Tahirah and I decided to tackle this problem head-on in the kitchen. We’ve developed a Keto Nut Granola that isn’t just more cost-effective—it actually tastes better and has that giant, crunchy cluster texture we all crave!


Check Out the Video!


Why This Recipe Beats Store-Bought

  • Budget Friendly: Make double the volume of a standard store-bought bag for a fraction of the price.
  • Perfect Clusters: We use a combination of egg whites and whey protein to ensure your granola doesn’t just turn into a pile of loose nuts.
  • Customizable Base: Don’t like pecans? Use walnuts. Want it sweeter? Adjust the allulose. This recipe is your canvas.

The Recipe: Crunchy Keto Nut Granola

Ingredients

The Nut & Seed Base:

  • 2 cups raw, unsalted almonds
  • 1 cup raw, unsalted pecans
  • 1 cup pumpkin seeds
  • 1/2 cup sunflower seeds
  • 1 cup coconut flakes
  • 3 tbsp chia seeds
  • 1 scoop (3 tbsp) unflavored whey protein
  • 20g ground flax seed
  • 2 tbsp collagen powder
  • 2 tbsp cinnamon & 1 tbsp nutmeg
  • 3 tbsp sweetener (Allulose/Monk Fruit blend)
  • 1 egg white & 3/4 cup warm water

The Cluster Syrup:

  • 1 tbsp butter + 2 tbsp coconut oil
  • 3 tbsp brown sweetener (Golden Allulose or Brown Swerve)
  • 1 tbsp vanilla extract
  • 1 tsp cinnamon & 1 tsp nutmeg

Instructions

  1. Prep the Nuts: Preheat your oven to 300°F (150°C). In a food processor, pulse almonds (3 times), then add pecans and pulse (2 times). You want chunks, not flour!
  2. Mix Dry: Add all remaining dry ingredients (seeds, coconut, powders, spices) and pulse twice more to incorporate.
  3. The Binder: Move the mixture to a bowl. Mix in the egg white, then add the 3/4 cup warm water and stir well.
  4. Make the Syrup: In a small saucepan, melt the butter/oil. Stir in the brown sweetener, vanilla, and spices until fully incorporated.
  5. Combine: Pour the syrup over the nut mixture and stir until everything is evenly coated.
  6. Bake: Spread the mixture evenly across a baking sheet lined with a silicone mat or parchment paper. Bake for 30–35 minutes.
  7. The Golden Rule: Once out of the oven, let the granola rest for 20–30 minutes. This is when the clusters harden and become crunchy. Do not break it apart early!

Nutritional Breakdown (Macros)

Based on a generous 42g serving size (approximately a large bar or 1/3 cup):

Nutrient Amount Per Serving
Calories 215 kcal
Total Fat 19.2g
Total Carbs 6.5g
Fiber 3.8g
Net Carbs 2.7g
Protein 7.8g

Pro Tips for Success

Don’t Over-Process

The biggest mistake is over-pulsing the nuts. You want different sizes and textures to mimic traditional granola. If you go too far, you’ll end up with a (still delicious) crumble rather than chunky bars.

The Cool Down

The “crunch” actually happens during the cooling process. As the allulose and egg white mixture sets, it binds the nuts together. If you try to eat it hot, it will be soft!


Have you tried making your own keto snacks? Let Tahirah and me know in the comments how your batches turned out!

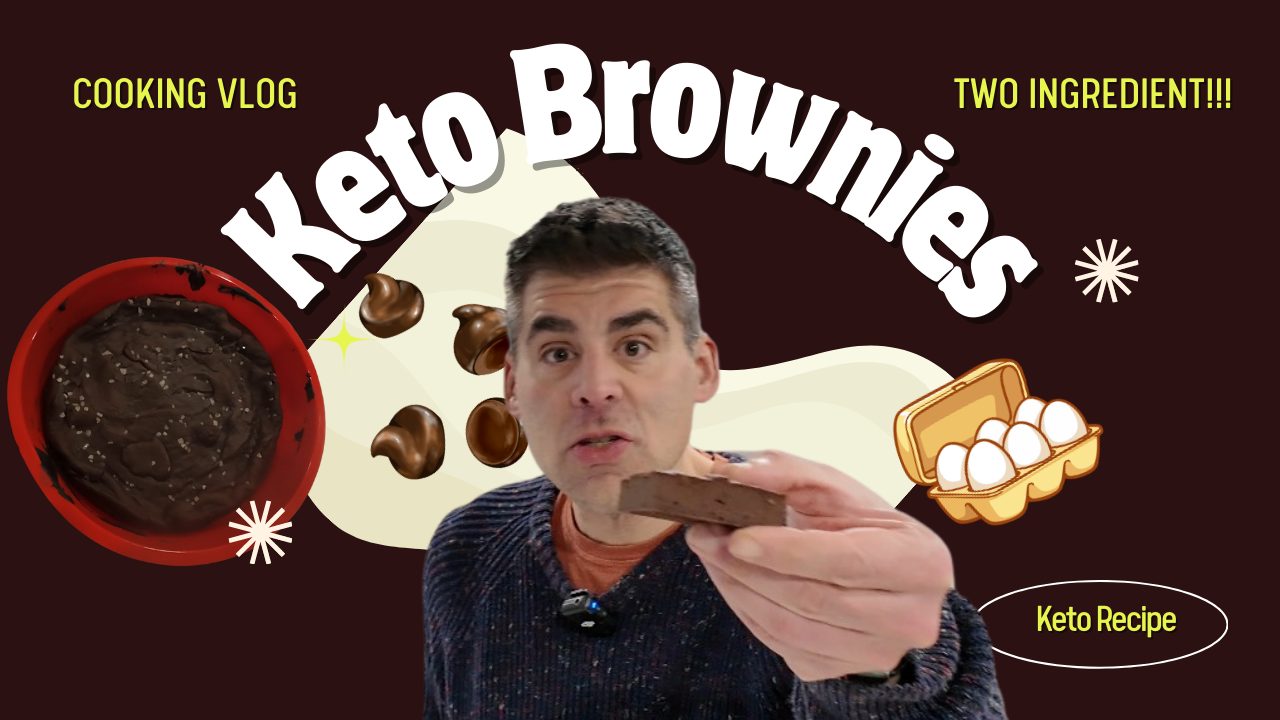
2-Ingredient Keto Brownies!

I love recipes that feel almost too simple to be real — and this one definitely qualifies. In this video, I’m making 2-ingredient keto brownies using only eggs and sugar-free chocolate chips (plus a little flaky sea salt on top because… of course).

It’s low-carb, wildly easy, and honestly pretty fun to test on camera.

Full transparency: the final result was decent — not the best brownie I’ve ever had, but absolutely good enough to satisfy a chocolate craving when you want a keto-friendly treat. The tradeoff is that it’s a calorie bomb, so portioning matters.


Watch the Video


Ingredients

  • 6 large eggs
  • 1 (10 oz) bag sugar-free chocolate chips
  • Optional: flaky sea salt, chopped nuts, or any keto-friendly topper you like

Equipment

  • Mixing bowl
  • Whisk (or hand mixer)
  • Microwave-safe bowl (or double boiler) for melting chocolate
  • 8×8 baking dish (or similar)
  • Parchment paper (recommended)

Instructions

  1. Preheat your oven to 350°F.
  2. Melt the chocolate chips gently: microwave in 20–30 second bursts, stirring between each, until smooth. (Go slow — sugar-free chips can seize if overheated.)
  3. In a bowl, whisk 6 eggs until they’re fully combined and slightly frothy.
  4. Temper the eggs (important): slowly drizzle a small amount of melted chocolate into the eggs while whisking continuously. Then keep adding chocolate in a steady stream while whisking so the eggs don’t scramble.
  5. Pour the batter into a parchment-lined baking dish. Top with flaky sea salt and/or nuts if you want.
  6. Bake for 30 minutes at 350°F.
  7. Let cool completely (or chill in the fridge) before slicing. The texture improves as it sets.

What I Learned (So You Don’t Have To)

  • Tempering matters. If you dump hot chocolate into eggs, you risk scrambled-egg brownies (and nobody wants that).
  • Cooling is part of the recipe. These set up a lot more after resting/chilling.
  • They’re rich. One small piece goes a long way.

Macros & Calories (Estimated)

These estimates will vary depending on the brand of sugar-free chips you use. Most “sugar-free” chips rely on sugar alcohols, so net carbs can be low, but total carbs may look higher on the label.

Estimated Total (Whole Batch)

  • Calories: ~1,450 (≈ 1,000 from chips + ≈ 450 from eggs)
  • Protein: ~36g (from eggs, plus some from chips depending on brand)
  • Fat: varies widely by chip brand (often high)
  • Total Carbs: varies widely by chip brand
  • Net Carbs: typically low if you subtract sugar alcohols (check your label)

Per Serving (If You Cut Into 9 Pieces)

  • Calories: ~160 per piece
  • Protein: ~4g per piece
  • Fat/Carbs: depends on your chocolate chips

Optional Variations

  • Nut crunch: walnuts or pecans
  • Salted chocolate: flaky sea salt + a tiny pinch of espresso powder (if you’re into that)
  • Texture tweak: slightly underbake for softer center, then chill

Final Thoughts

If you’re keto and want a fast chocolate fix with almost zero effort, this recipe is worth trying. Just keep expectations realistic: it’s not a classic bakery brownie — but it does scratch the itch, and it’s honestly hilarious how simple it is.

If you make it, drop a comment on the video and tell me what toppings you used — I’m definitely going to keep experimenting with this one.

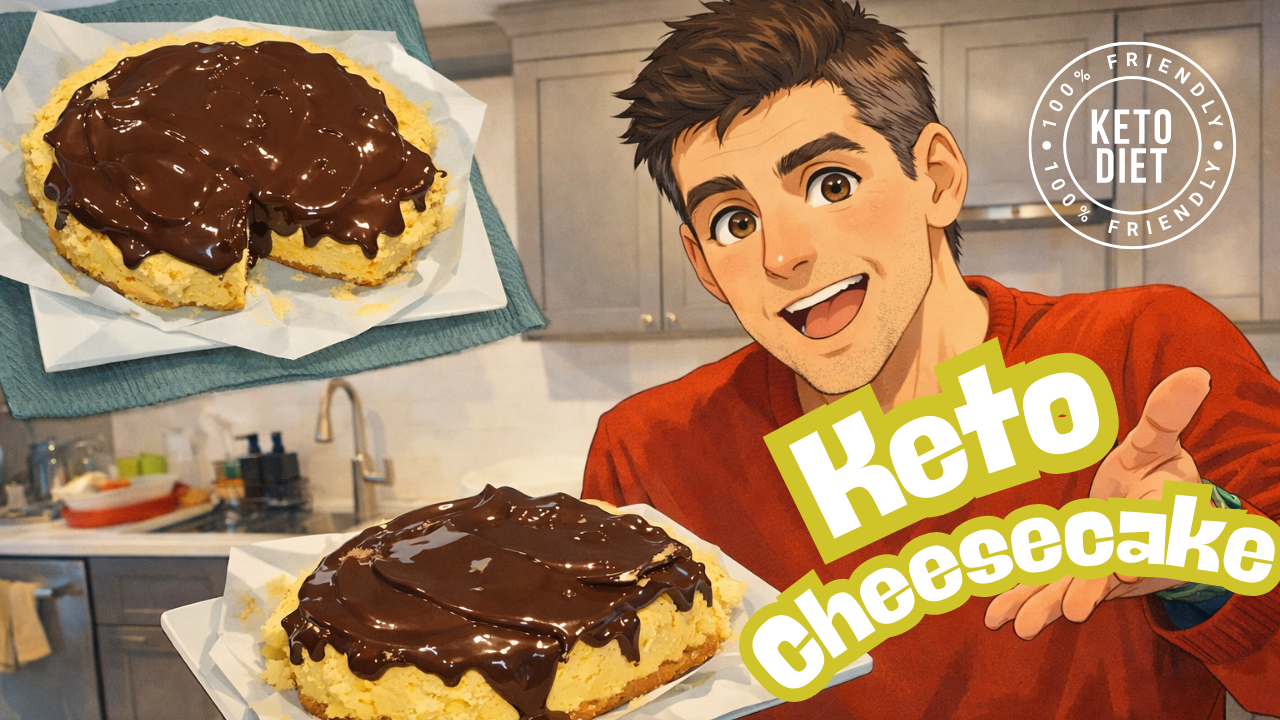
Keto Cheesecake (Low-Carb, Creamy, No Cracks)

I’ve been on a mission to make keto desserts that actually feel like real dessert — rich, creamy, satisfying — without turning into a science project.

In this video I made a keto-friendly cheesecake that came out shockingly good: great flavor, smooth texture, and zero cracks.
The only thing that didn’t cooperate? My “special” topper idea… which is why I’m only hinting at it here. 😅

If you’re looking for an easy keto cheesecake that fits into your macros and doesn’t require a dozen specialty ingredients, this one is a great starting point.


Watch the Video


Ingredients

Main Cheesecake

  • 16 oz cream cheese (2 × 8 oz blocks), softened
  • 3/4 cup sour cream
  • 3/4 cup allulose sweetener
  • 3 large eggs
  • 1.5 tablespoons vanilla extract
  • 5 tablespoons butter (I used 4 — totally worked)

Optional “Finishing Touch” (Hint Hint)

This is optional and not required for the cheesecake itself — but if you want to try a more “dessert-style” finish, you can experiment with something that adds a little extra richness on top.

  • Optional: a small amount of sugar-free chocolate chips
  • Optional: coconut oil

Directions (Step-by-Step)

  1. Preheat your oven to 300°F.
  2. Soften your cream cheese (this matters). If it’s still cold, you’ll fight lumps the entire time.
  3. In a large mixing bowl, combine:
    cream cheese, sour cream, allulose, eggs, vanilla, and melted butter.
  4. Mix until smooth. Don’t overmix to the point where you whip tons of air into it — that can increase the chance of cracks.
  5. Pour the batter into your prepared pan (use a springform, cover the bottom with foil). Tap the pan gently to release air bubbles. Put the springboard pan into a larger tray and fill the tray with 1/2 inch of boiling water.
  6. Bake until the edges are set and the center has a slight jiggle — usually 70-90 minutes, depending on pan size and oven behavior.
  7. Turn off the oven, crack the door, and let the cheesecake cool slowly for about 30 minutes. This helps avoid cracking.
  8. Cool fully, then refrigerate for at least 4 hours (overnight is best).
  9. Optional: try a small “finishing touch” on top… but just know it may have a mind of its own. (Watch the video for the full experiment.)

Macros + Calories (Estimated)

Important note: Macros will vary based on your specific brands (especially cream cheese, sour cream, allulose, and optional extras).
The estimates below assume the base recipe only (no optional topper) and 8 slices.

Estimated Totals (Whole Cheesecake)

  • Calories: ~2,460
  • Fat: ~224 g
  • Protein: ~65 g
  • Total Carbs: ~62 g
  • Net Carbs (estimated): ~18–22 g (depends heavily on brand + sweetener labeling)

Estimated Per Slice (1/8)

  • Calories: ~308
  • Fat: ~28 g
  • Protein: ~8 g
  • Total Carbs: ~7.8 g
  • Net Carbs (estimated): ~2.3–2.8 g

Why “net carbs” is a range: different brands have different carb counts, and allulose is often labeled as a carb even though it’s typically excluded from net carbs.
If you want, paste your exact product nutrition labels and I’ll calculate a more accurate macro table.


What Worked (and What I’d Do Differently)

✅ What Worked

  • Texture: creamy and rich — exactly what I want in a cheesecake
  • No cracks: slow cooling + not overmixing made a huge difference
  • Flavor: balanced sweetness and great vanilla notes

❌ What Didn’t Work (Yet)

  • My “special” topper idea didn’t set the way I expected. It’s still tasty — but it needs a better method.
    (I’ll probably revisit this in a future video.)

Tips for a Crack-Free Keto Cheesecake

  • Use room-temp cream cheese (seriously, it’s everything).
  • Don’t overmix and whip tons of air into the batter.
  • Cool slowly: oven off, door cracked, then counter.
  • Chill long enough: at least 4 hours, overnight is better.

Try It and Tell Me How Yours Came Out

If you make this recipe, I’d love to hear how it went — and especially if you have ideas for a better finishing touch on top.
Drop a comment on the video or here on the blog.

If you want more keto experiments: I’ve been doing a bunch of freestyle keto baking on-camera — cookies, brownies, breads, and more.
Subscribe on YouTube so you don’t miss the next one.

Keto Brownies with Whey Protein and Cottage Cheese

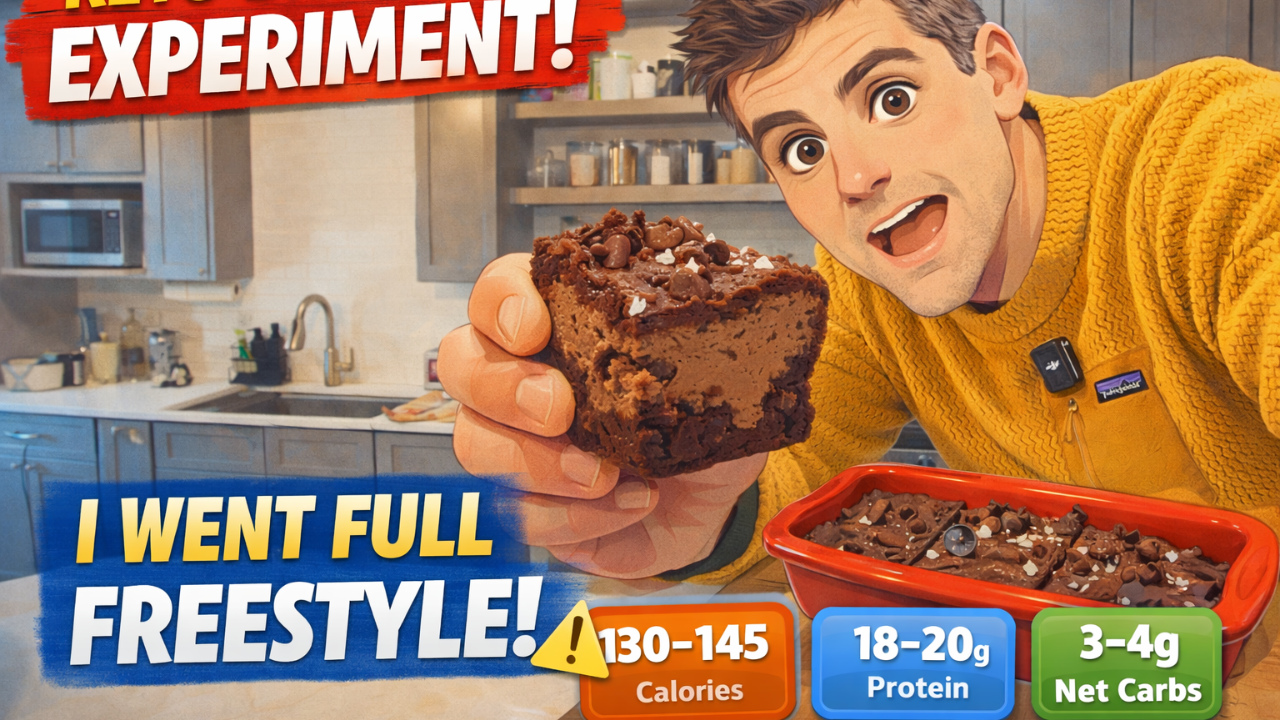
I love a good “internet recipe,” but I really love taking a bunch of online ideas and turning them into something that fits my keto goals. In this video, I went full freestyle and made a batch of keto brownies using a blend of ingredients I’ve seen across a bunch of recipes—then added my own twists for texture and flavor.

No test run. No backup plan. Just a food processor, a bowl of melted sugar-free chocolate chips, and a very real curiosity about whether whey protein + cottage cheese could deliver that brownie vibe without flour.


Watch the Video


The Concept

I wanted a brownie that was:

  • Keto-friendly (low net carbs)
  • High-protein without being chalky
  • Rich and chocolatey
  • Interesting texture (not just one uniform cake block)

The big experiment was using whey protein as a key dry ingredient and cottage cheese for body and moisture—then folding in melted sugar-free chocolate chips to create a “ribbon” effect inside the brownie.


Ingredients (My Freestyle Keto Brownie Formula)

  • 4 large eggs
  • 1 cup whey protein (unflavored or chocolate—your call)
  • 2 tbsp cacao (or unsweetened cocoa powder)
  • 2 tbsp allulose brown sweetener
  • 1 cup cottage cheese
  • 1/2 cup sugar-free chocolate chips (melted, then folded in gently)
  • Optional topping: a handful of sugar-free chocolate chips
  • Optional topping: flaky sea salt

How I Made Them (Quick Steps)

  1. Blend the base: Add eggs, whey protein, cacao, allulose, and cottage cheese to a food processor. Blend until smooth.
  2. Melt the chips: Melt 1/2 cup sugar-free chocolate chips (microwave in short bursts, stirring between).
  3. Fold for the “ribbon”: Pour the melted chocolate into the batter and fold gently—don’t fully mix. The goal is swirls and pockets.
  4. Pan + top: Pour into your baking dish. Sprinkle extra chips and finish with flaky sea salt.
  5. Bake: I cover bake time/temperature in the video since I adjusted on the fly. (Add your final bake specs here if you want.)

Macros (Estimated)

Since brands vary a lot (especially whey, cottage cheese, and sugar-free chips), these are reasonable estimates based on typical nutrition labels.

Whole Batch (Estimated)

  • Calories: ~1,050–1,250
  • Protein: ~140–165g
  • Fat: ~45–65g
  • Total Carbs: ~25–45g
  • Fiber: ~10–20g
  • Net Carbs: ~12–28g

Per Serving (Estimated)

These depend on how you slice it:

  • If you cut 8 brownies:
    ~130–155 calories | ~18–21g protein | ~2–5g net carbs
  • If you cut 12 brownies:
    ~90–105 calories | ~12–14g protein | ~1–3g net carbs

Tip: If you want exact macros, plug your specific brands into a tracker (Cronometer is great) and divide by your final number of slices.


What I Learned (Keto Baking Notes)

  • Whey protein is powerful—but it can shift texture fast. Too much can go “firm” or “spongy” if you overbake.
  • Cottage cheese is a cheat code for moisture and structure—especially when blended smooth.
  • The ribbon fold matters: fully mixing the melted chips makes the whole thing more uniform. Folding keeps variety.
  • Salt on top is non-negotiable for me now. It makes the chocolate pop and keeps it from tasting “protein-y.”

How I’d Tweak It Next Time

  • Try a small amount of baking powder for lift (optional)
  • Experiment with a touch of butter or coconut oil for a richer “fudge” feel
  • Add espresso powder to deepen the chocolate flavor
  • Test chocolate whey vs. unflavored whey for taste balance

If You Try This…

Let me know how yours turns out—especially your bake time and texture notes. Keto baking is half science, half chaos, and I’m here for it.

👍 If you enjoyed the experiment, consider subscribing for more keto-friendly recipes, tests, and “let’s see what happens” kitchen projects.